
READING & WRITING
From 30 second commercials to full-length feature films, all animated stories require preparation and planning. In the book Animated Storytelling, Liz Blazer suggests starting the story writing process by outlining the “beats” or the events that move the story forward. Then rearrange them in the most interesting way; they can be placed in a linear story or a non-linear structure.
Linear Story Structure
An excellent example of a linear story structure as an animated short is Color Bling by Phil Borst. The short follows the basic linear principles:
Act 1: Introduce the characters and what the problem is.
Act 2: Work toward a solution and be sure to include obstacles.
Act 3: Resolve the problem and reveal what the underlying message is. In the example of Color Blind, the message is “kindness.”
Non-Linear Story Structure
Instead of following a chronological pattern, the non-linear story is more abstract and can start in the middle or the end. There are five different categories the non-linear story falls into:
- Bookends: the beginning and end are the same
- Beaded Necklace: one element, like a song, strings the story pieces together
- Countdown: Start with the climax, then build backwards towards the climax with an intense mood.
- The Puzzle: Show the audience pieces of the story and let them figure it out.
- High-Concept: One big idea.
Because I like solving riddles, I am always intrigued by the ‘puzzle’ structure. Here is an interesting PSA that uses the ‘puzzle’ structure:
Storyboarding
With the basic structure in place, it’s time to visually bring the story to life and begin storyboarding. First, roughly sketch the main ‘beats’ of the story, the important events. Then keep building by adding details to the drawings, adding more frames and narration. While sketching, think about the shot composition and how best to make the animation visually attractive. Blazer suggests using the “Rule of Thirds,” which breaks down the image into thirds (vertically and horizontally) and puts the main focus of the frame in one of the exciting points.
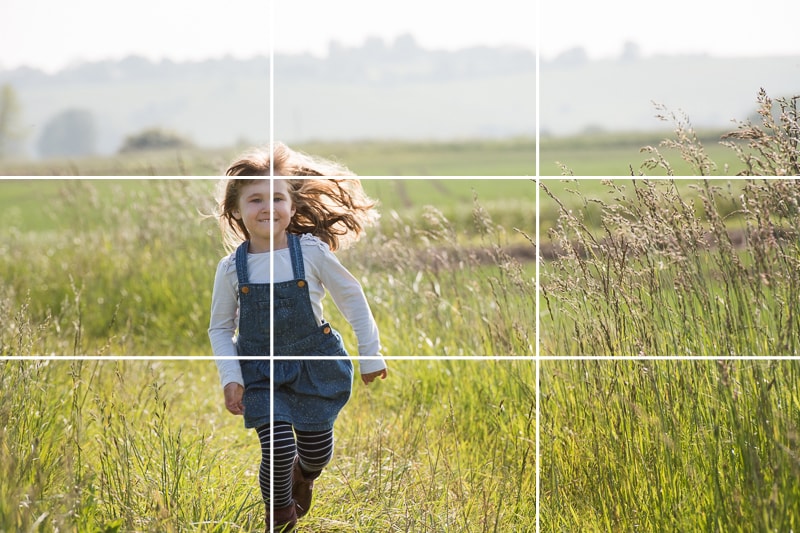
Once a basic storyboard structure is in place, work on the story’s timing. It’s helpful to use software such as iMovie or Adobe Premiere so you can import the sketches, then add narration and sounds to get a feel for how long the animated story will be. Blazer calls these “animatics” and states they are the last chance to get the story before production.
RESEARCH TO INFORM
Taking Blazer’s advice, I began to research the art of cinemagraphs- hybrid still and motion photography that focuses on a tiny movement and plays in a continuous loop. The effect of this digital art form is magical. Cinemagraphs are like a frozen piece of the time that forces you to focus on a small piece of the story. It could be a butterfly flying through a meadow or a skirt blowing in the wind.
Cinemagraphs take much time to plan and prep. The photography needs to consider the subject and composition, but they also need to keep in mind what the animated focal point will be. Below I’ve found some compelling examples:

In this cinemagraph by Jamie Beck and Kevin Burg, my eye is drawn to the model’s turquoise shoes and the flutter of the skirt. The color combination is brilliant. I also like the juxtaposition of the distressed doors behind the shiny shoes and skirt. It makes for a visually exciting piece.
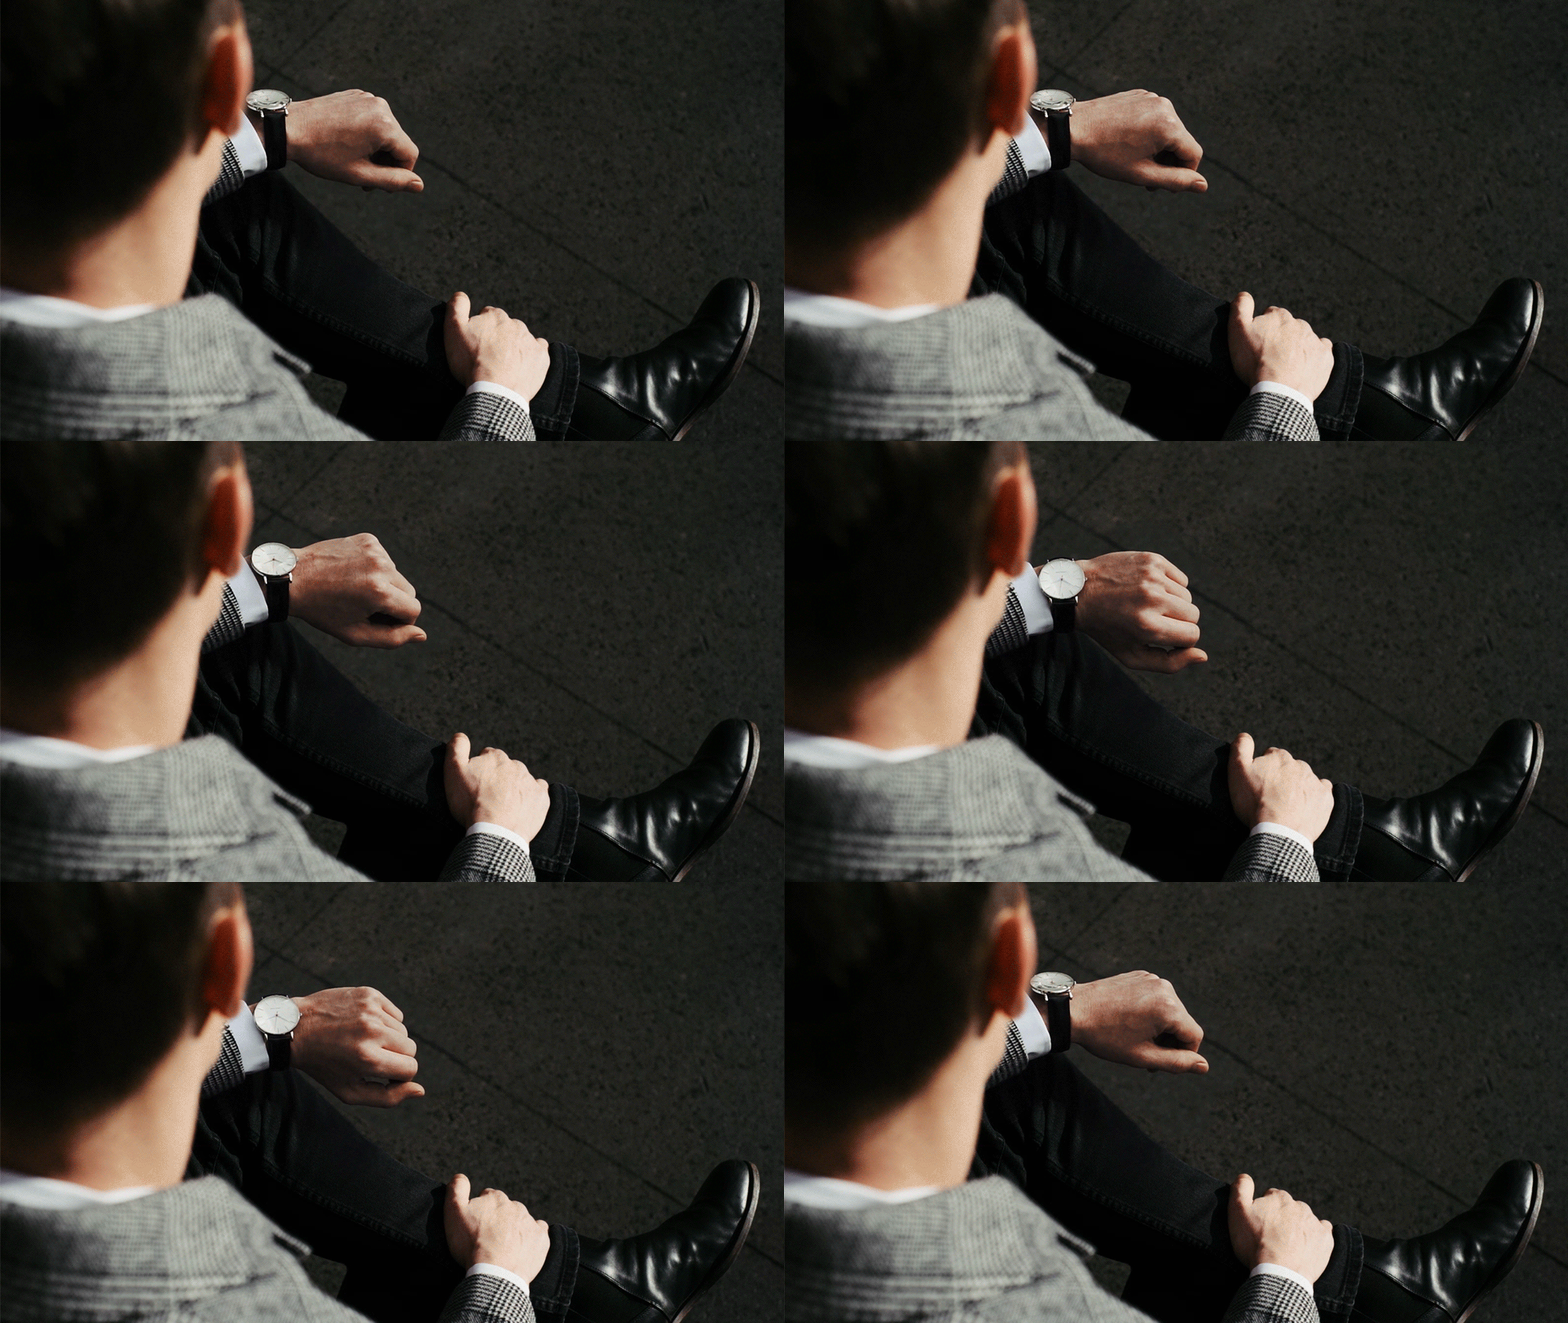
We can all relate to the simple twist of the wrist to see what time it is. However, I especially like how this photograph used the rule of thirds with the focal point in the upper left and so much negative space in the upper right. A unique triangle shape is made with the model’s body and the line on the floor. This ad for the watch makes the brand feel very premium.
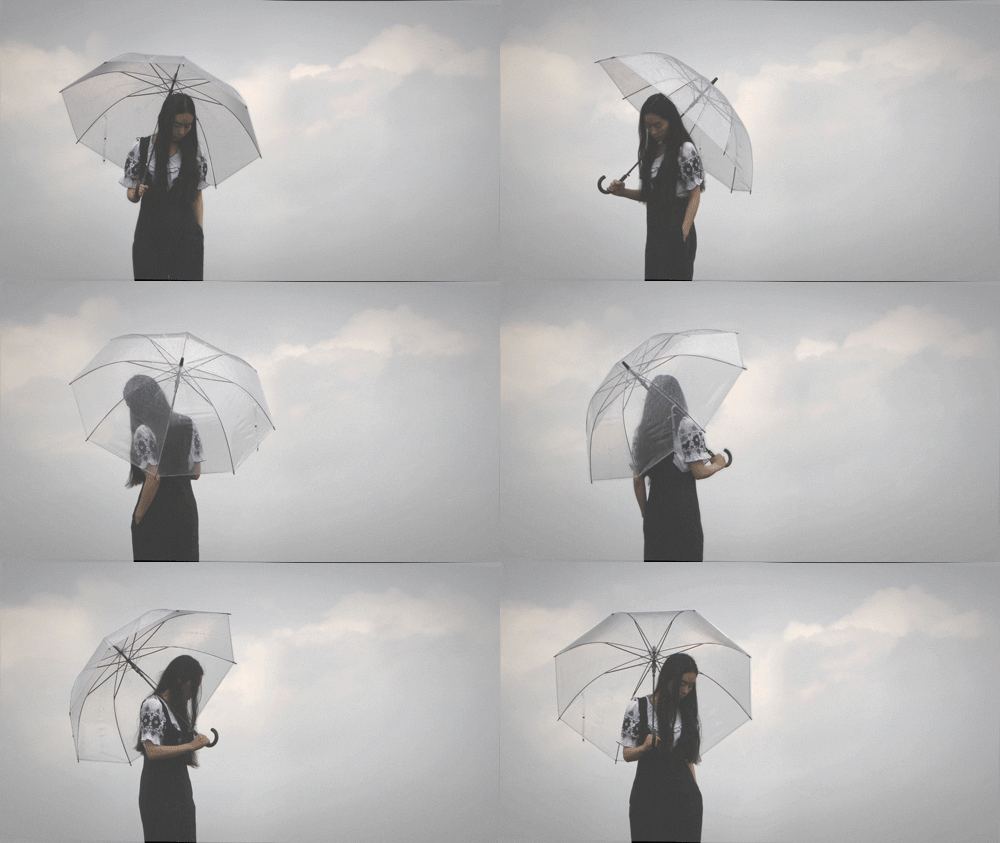
The model spinning with an umbrella make the image feel very whimsical. The fast animation also adds to the effect. I like that this cinemagraph captures the model at every angle.

The addition of the animated alarm clock adds humor to this cinemagraph. It tells the story of not wanting to wake up when our alarm goes off, something we all can relate to.
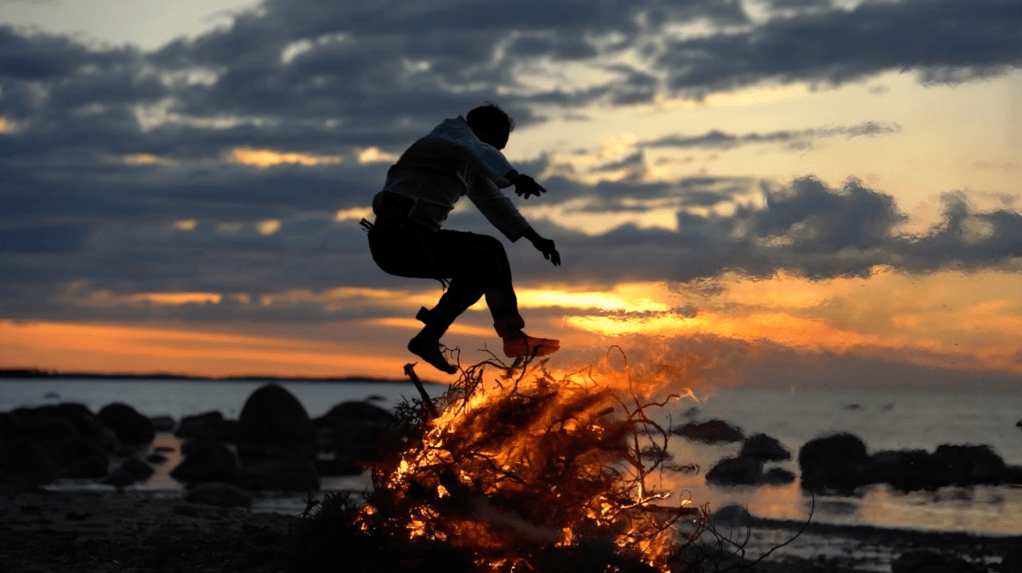
The fire in this cinemagraph is so intense, and I can’t stop staring at it. The depth of the flame and the way the light reflects in the atmosphere make you feel the intensity of the heat.
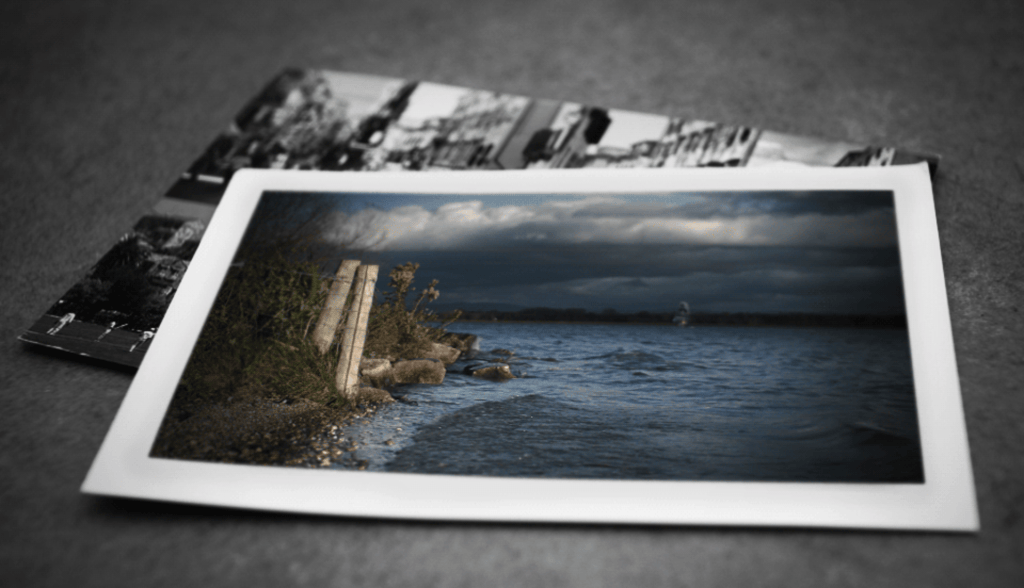
The photographer makes the image feel truly magical by animating the water in a picture sitting on a table. It feels very relatable, as if a photo on anyone’s table can come to life.
CREATE
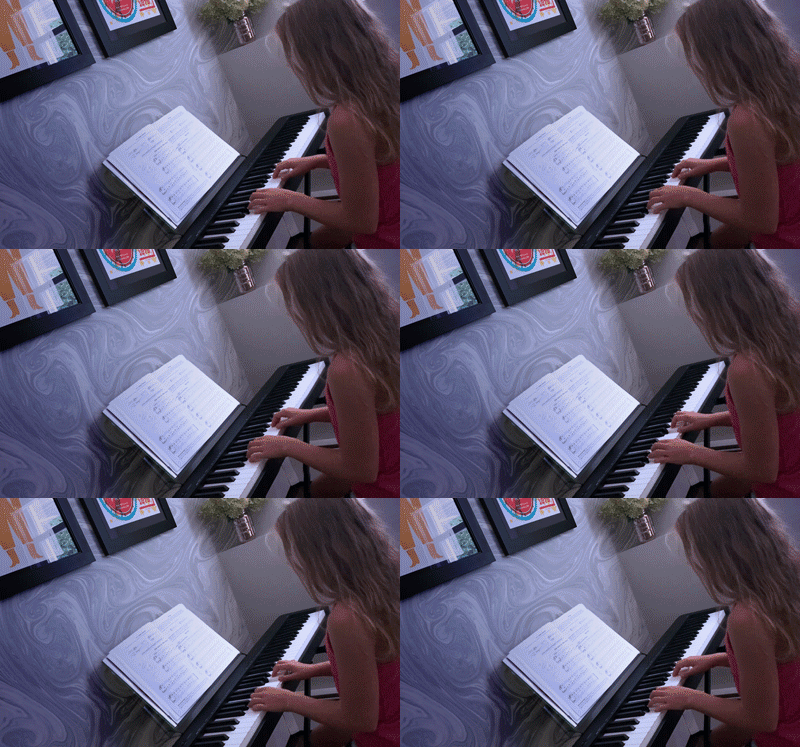
Finally, after all my reading and research, I created a few cinemagraphs using a variety of techniques. My first cinemagraph was done using PhotoShop to animate my daughter playing the piano. It was a challenge to have her keep still except for her hands. I also learned the importance of a tripod quickly. Using Photoshop, I was able to lighting effects and a marble wallpaper to create a more visually interesting image. I am pleased with the result, even if the motion teeters a bit on the creepy side.
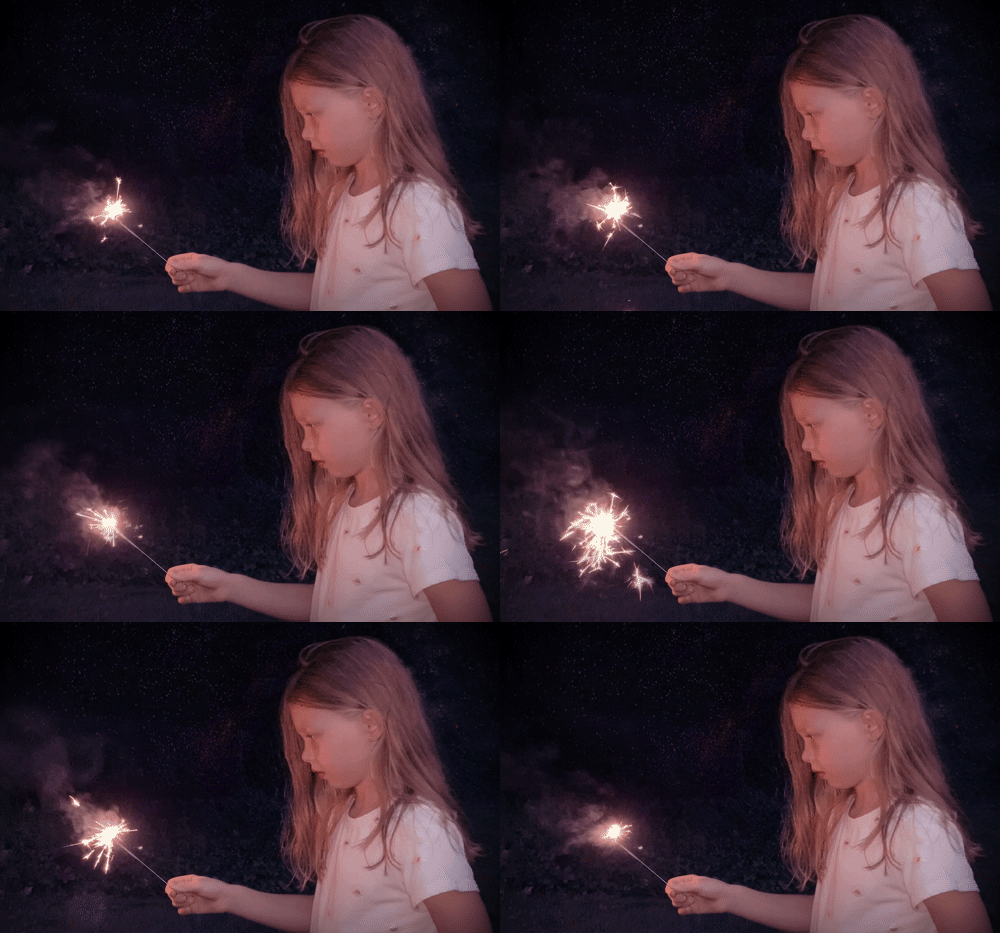
While brainstorming for my next cinematography, I felt every idea I came up with was cliché. After poking around the internet, I was inspired by a woman with sparklers on her head. I decided to use my other daughter as the model and have her hold a sparkler. Since it was simple photography, I tried to frame the photo using the ‘rule of thirds.’ I created the animation in photoshop, and I’m pleased with how the sparkler dances around the image.
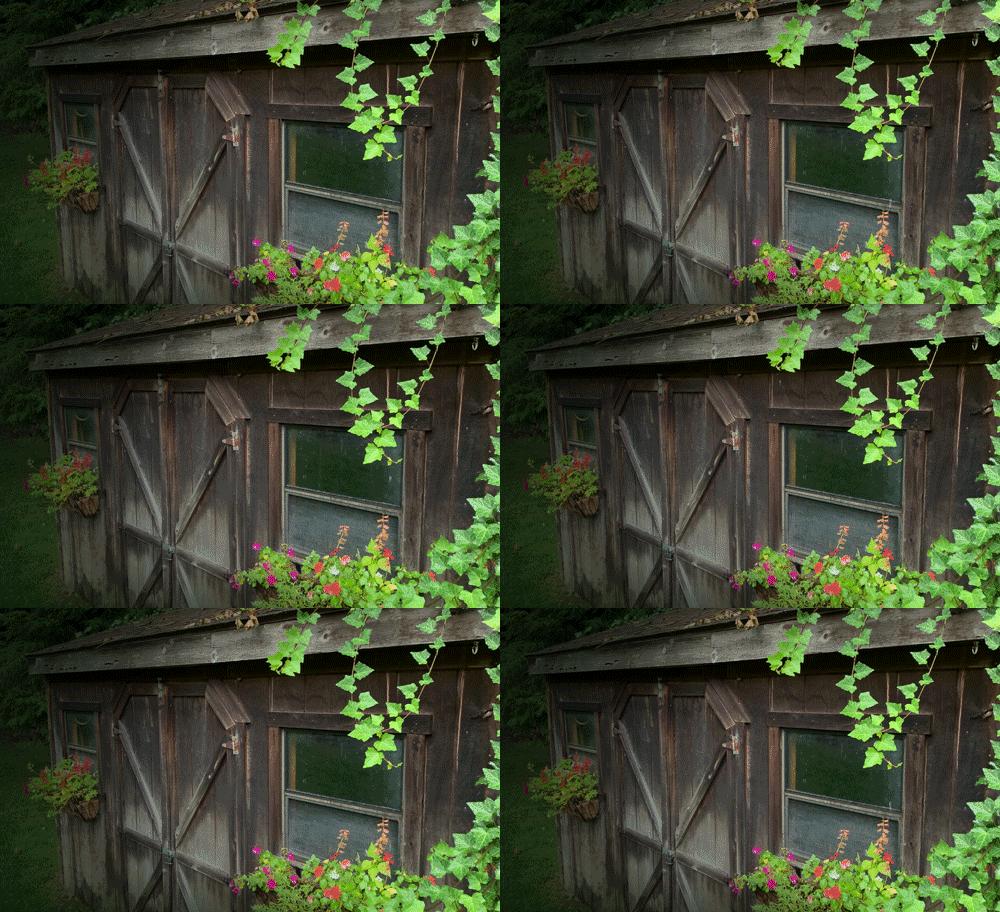
When it came time to create my last cinemagraph, it was pouring rain outside, and I didn’t know how to complete my project. While doing the dishes, I looked out my window and saw how nicely the rain was dripping down all over my ivy-covered shed. I got soaking wet taking the video, but I think the result was worth it. I used Adobe After Effects, and thankfully the process went smoothly, and my cinemagraph worked out.
I now know creating cinemagraphs takes much planning, from setting up the tripod, getting the framing just right, and making sure the model doesn’t move. It was very tricking getting these variables to work together. Much like planning an animated story, I had to ensure I had all of my prep work done. I reshot my videos over and over and had a variety of concepts that I threw out. I understand why Blazer stresses the importance of laying all of the groundwork out for a successful outcome.
 To Mulberry Street Marketing & Design
Leave a comment