
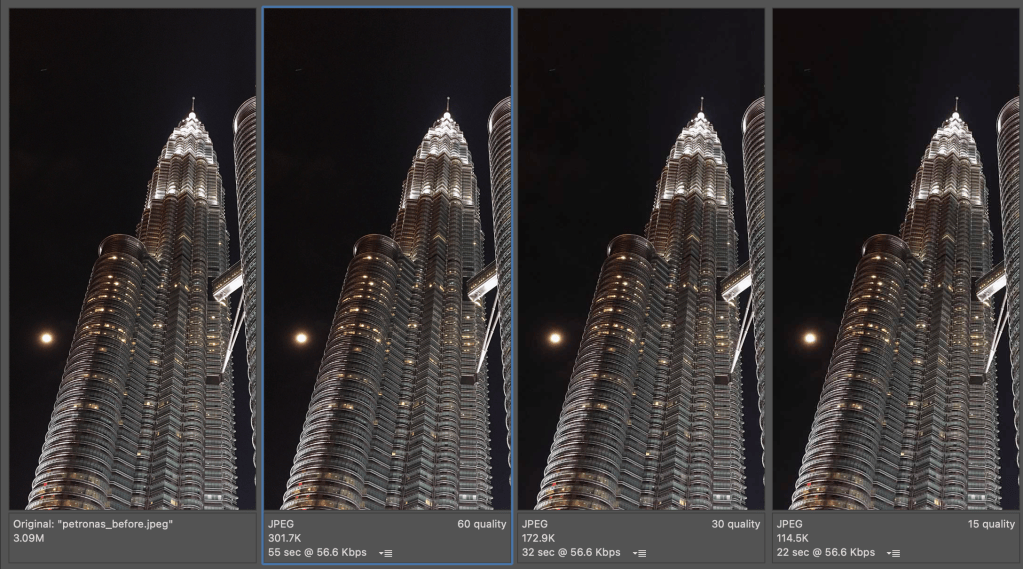
Have you heard about the study that states the human attention span is less than that of goldfish? It’s true; in 2015, scientists found the average attention span in humans is 8.25 seconds, while a goldfish is 9 seconds. It’s no wonder people have little patience for websites that load slowly.
According to Google, if a website doesn’t load within 3 seconds, 53% of mobile visitors will leave the website. This means you have only a few seconds to grab a user’s attention and keep them on your website. An excellent way to do that is with a compelling home page design with eye-catching visuals.
Using Images on the Web
A big splashy image is a great way to captivate an audience; however, to keep page load times fast, all images must be optimized. In other words, resize the photo to the exact specifications needed for the website and remove any unnecessary data to keep the file size as small as possible. Below is a walk-through of two different ways to optimize a photo.
Optimization Option 1: Squoosh.app
With a silly name like Squoosh, who wouldn’t want to try out this online app? The app is so easy to use; simply drag and drop the image onto the webpage, and the image is instantly resized. Then, with the handy slider bar, you can compare the original image to the new smaller version and make simple adjustments. When you’re ready, download the new image. This handy tool reduced the original file size from 987 KB to 177 KB.
Optimization Option 2: Photoshop
If you want more control over the image quality, Photoshop has many more options. For example, having a better quality optimized image may be necessary if the photo is used as a web page background and you want to make a great first impression.
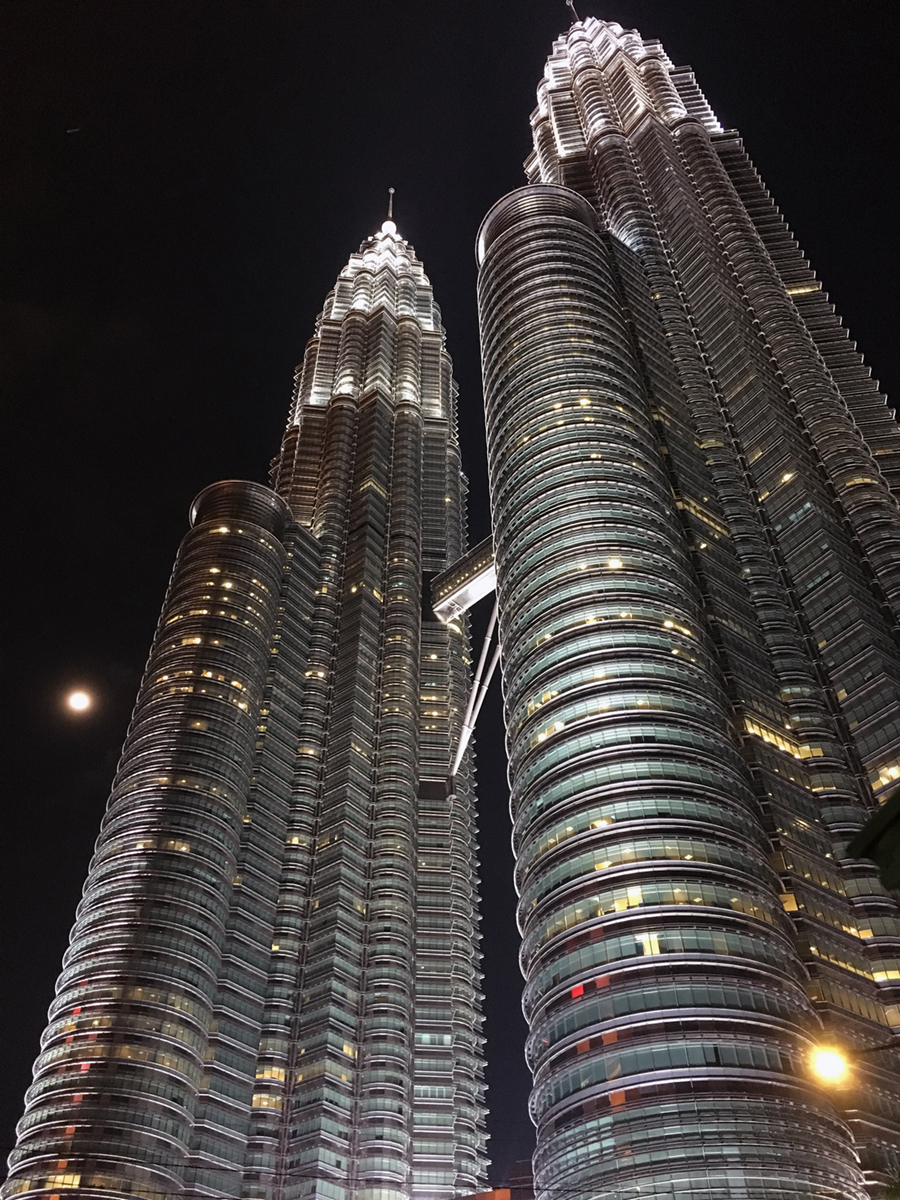
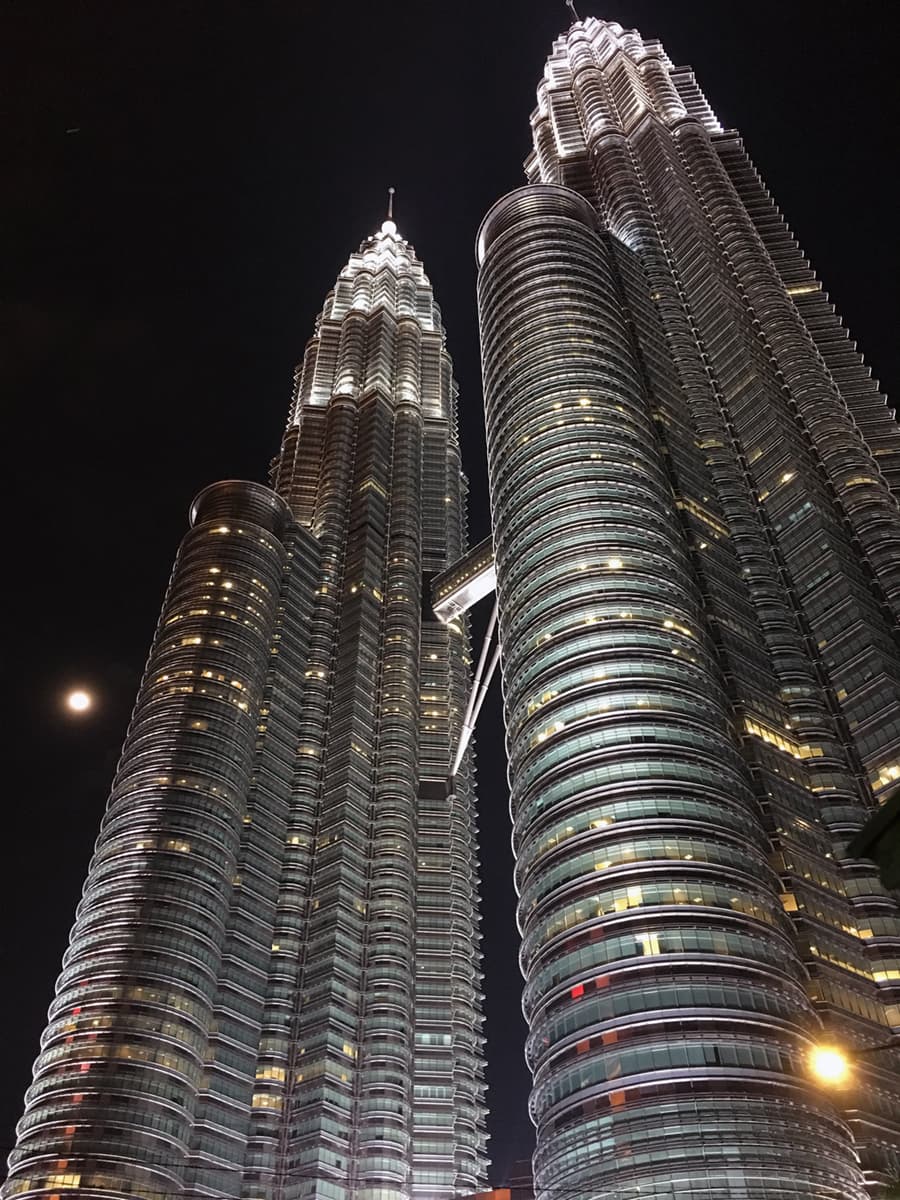
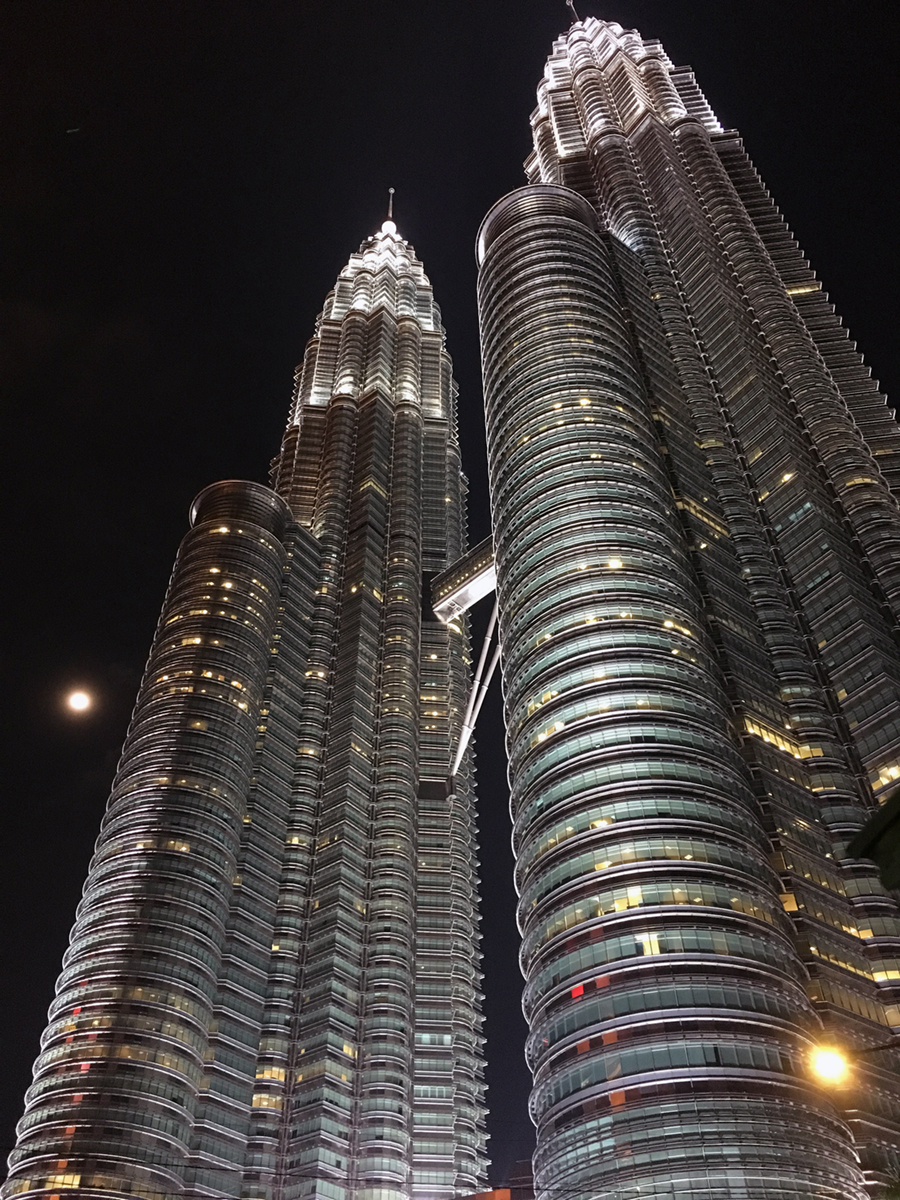
To begin optimization in photoshop, open the file, then select File> Export > Save For Web (Legacy). The dialog box has options to save it as various file types such as gif, png, or jpg. For an image with lots of colors and shading, jpg is the best option. You can also choose the image quality, size, screen size, and so much more. You can also zoom in on the before and after images to see the changes you’re making before exporting a new file. In my example, I chose an image quality of 60. I also selected “optimized,” “convert to RGB,” set the metadata to “none,” and changed the image size from 1200px high to 1000px. The result was a quality image at 221 KB.
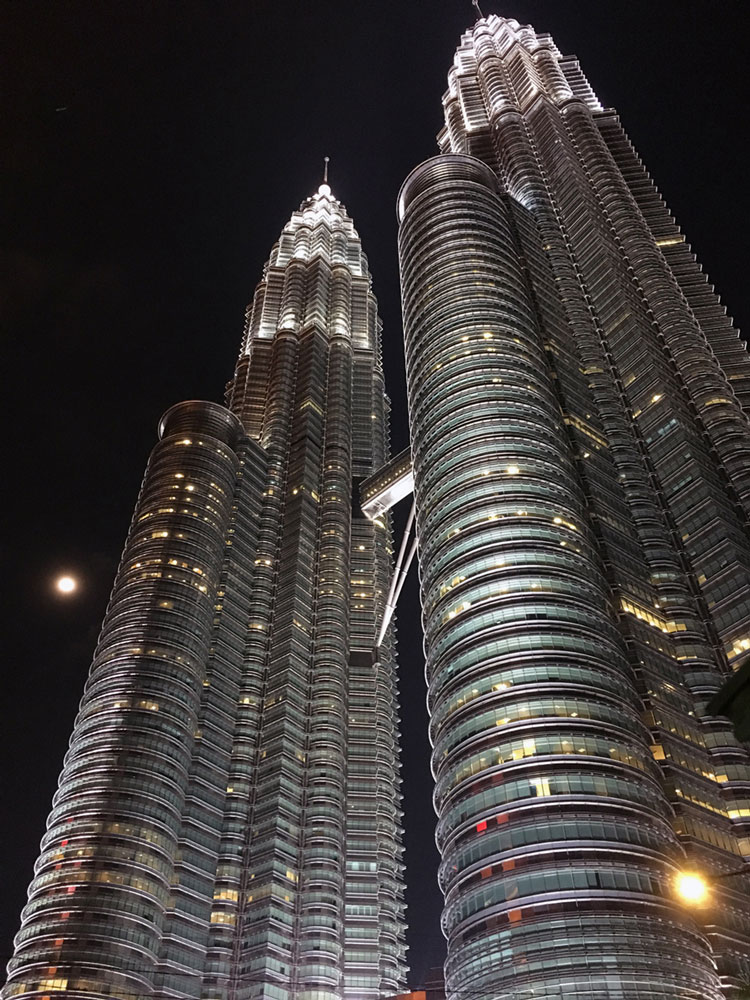
Here is a slider bar comparison of the original and optimized version. It’s very difficult to see the difference.
Wrapping Up
When it comes to improving your website load time and giving the user the best experience possible, image optimization is a no-brainer. This extra step will help you keep your website traffic and search rankings up.
References
The Human Attention Span. Digital Information World. 2018. Retrieved from: https://www.digitalinformationworld.com/2018/09/the-human-attention-span-infographic.html
Kirkpatrick, David. Google: 53% of mobile users abandon sites that take over 3 seconds to load. Marketing Drive. 2016. Retrieved from: https://www.marketingdive.com/news/google-53-of-mobile-users-abandon-sites-that-take-over-3-seconds-to-load/426070/#:~:text=New%20research%20by%20Google%20has,seconds%20on%20a%204G%20connection
 To Mulberry Street Marketing & Design
Leave a comment